As Bitcoin solidifies its position as the world's premier reserve asset, terrestrial mining faces mounting constraints: escalating energy costs, regulatory restrictions, and grid limitations that already consume electricity equivalent to mid-sized nations.
Space offers the definitive path forward.
Launch costs decrease toward unprecedented affordability—approaching $10–$100 per kilogram in mature operations—while Bitcoin's value continues its long-term appreciation trajectory.
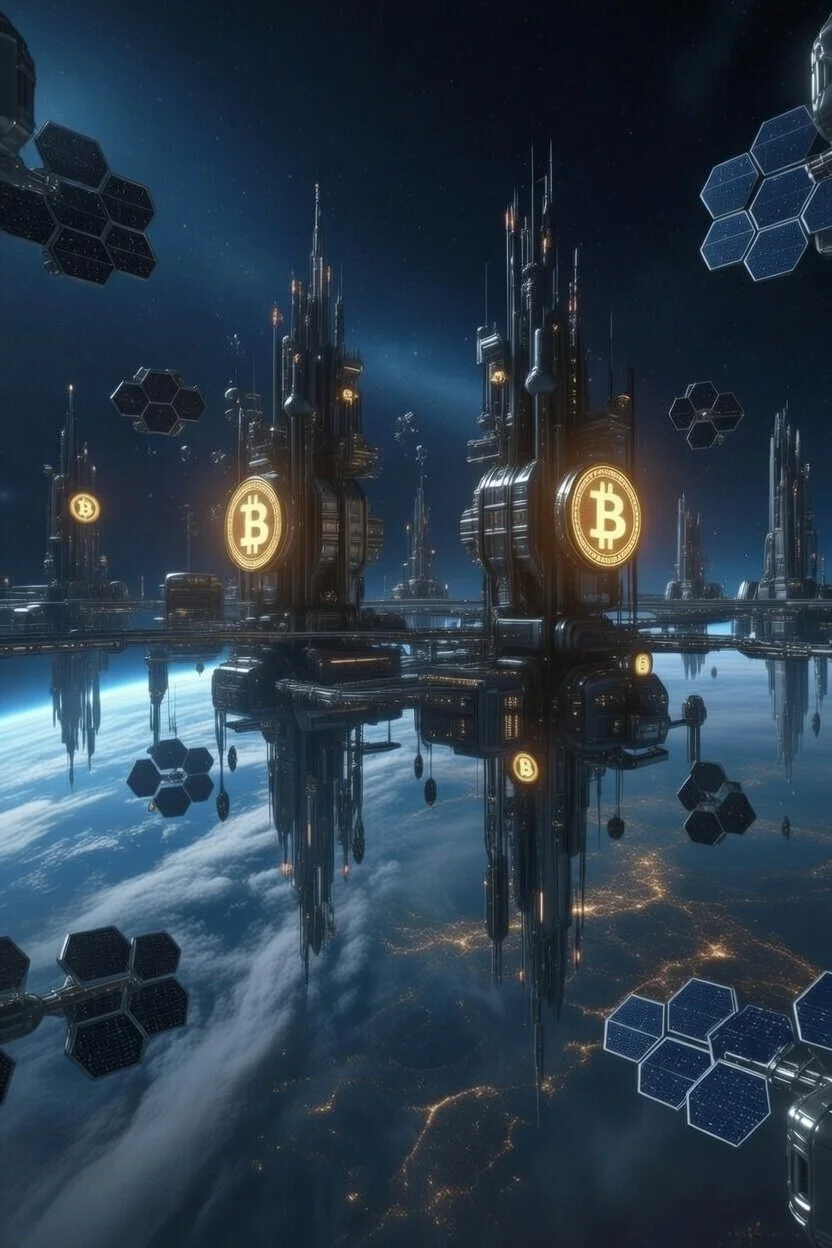
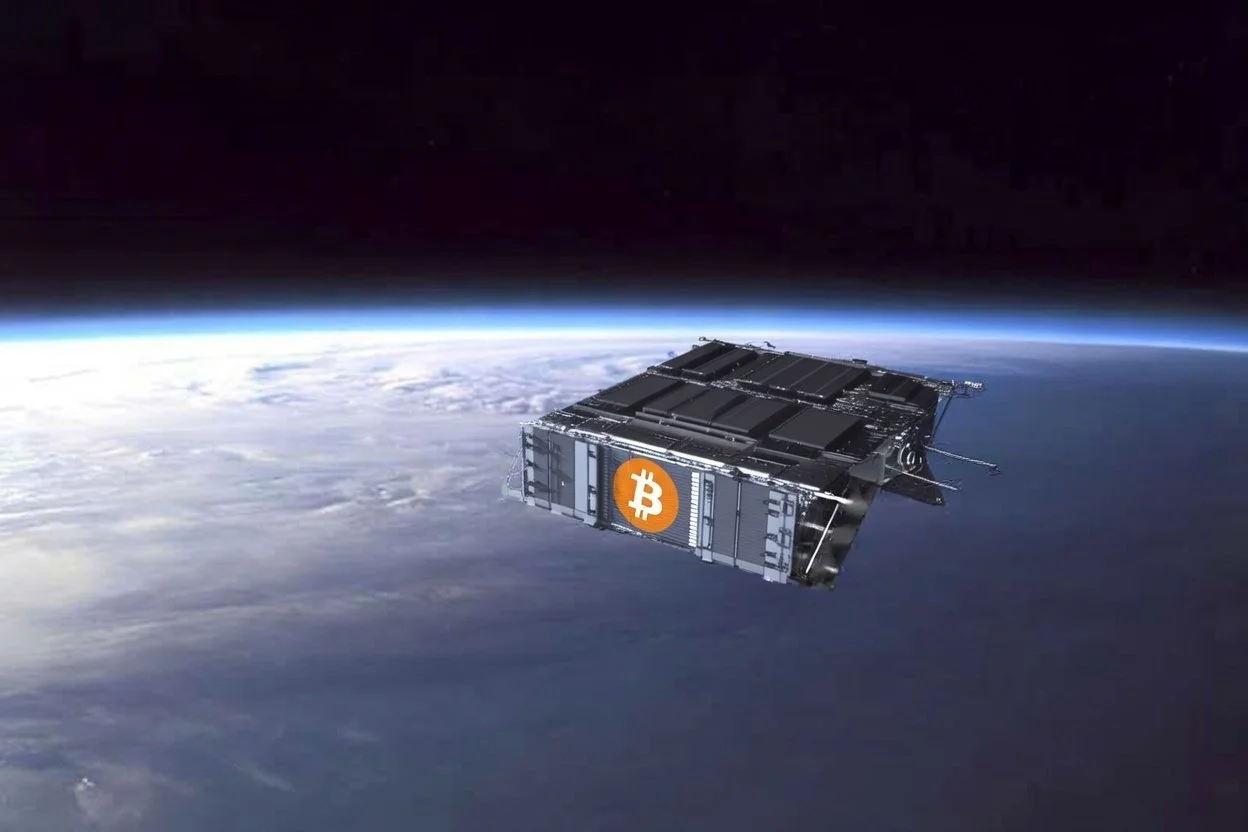
SpaceB deploys solar-powered mining constellations in low Earth orbit and sun-synchronous paths, harnessing near-continuous solar flux and vacuum radiative cooling to deliver superior efficiency, resilience, and scalability.
This is the logical convergence of proven technologies and economic inevitability—securing Bitcoin's network while enabling the financial infrastructure for humanity's multi-planetary future.